Home Built Hovercraft

How to Build a Homemade Hovercraft

Local News Local News Local News

How to build a pretty simple Hovercraft.

Here are some directions on how I built my homemade hovercraft.

CLICK HERE TO SEE THE LATEST HOVERCRAFT PROJECT!
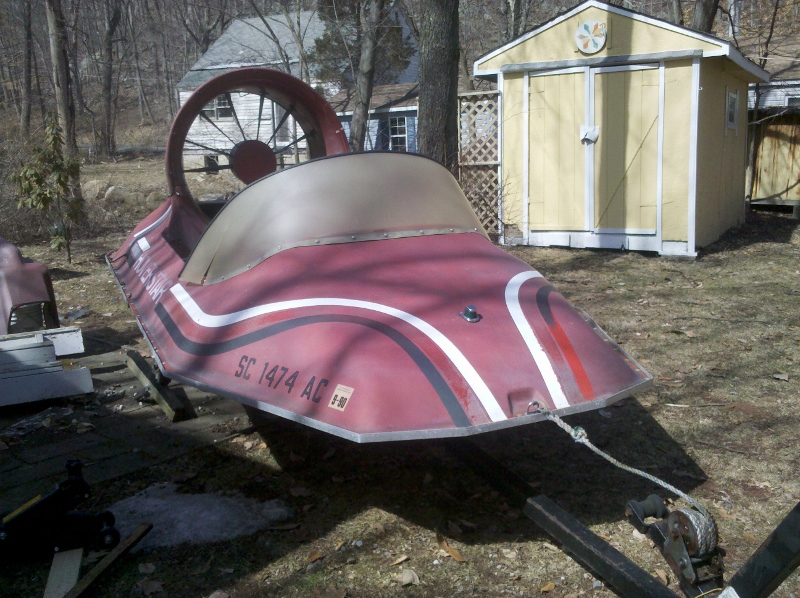
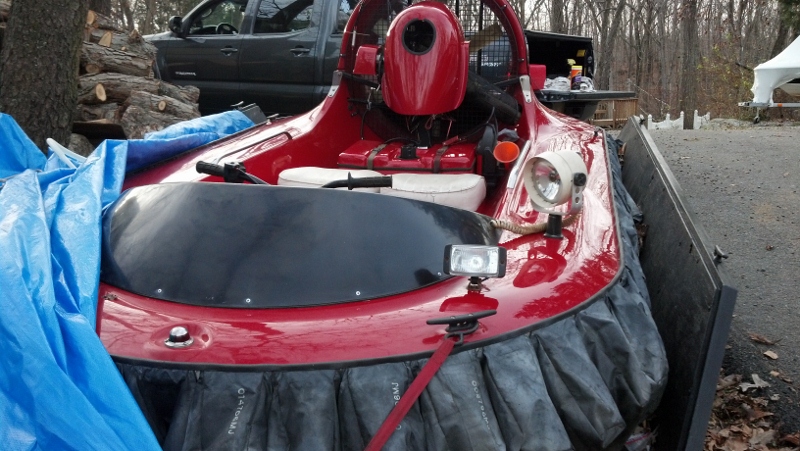
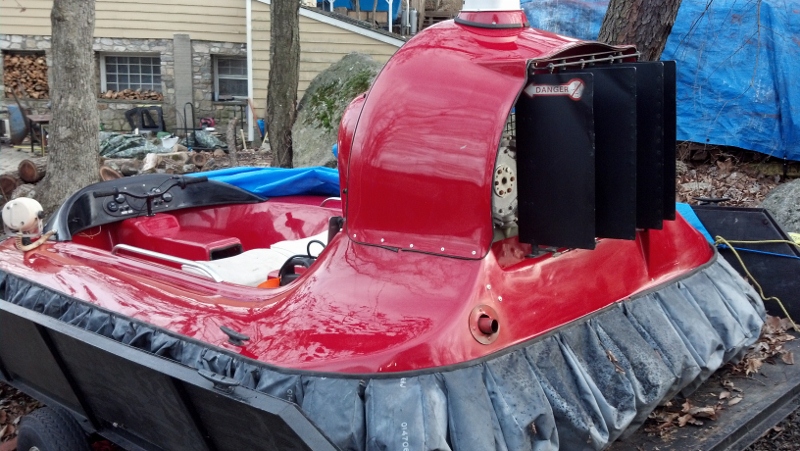
FOR SALE

Scat Hovercraft 12' Three seater.

Rebuilt Rotax 503 dual carb.Electric Start.

All new throttle cables.

New stator, flywheel, CDI, External coil, Wires.

All wiring redone. All new switches.

Hull was painted and there are chips and some minor scratches.

Bags are in great shape.

I would like to sell quick and get back to the Hoverstar Project.

Contact me at:

Supplies

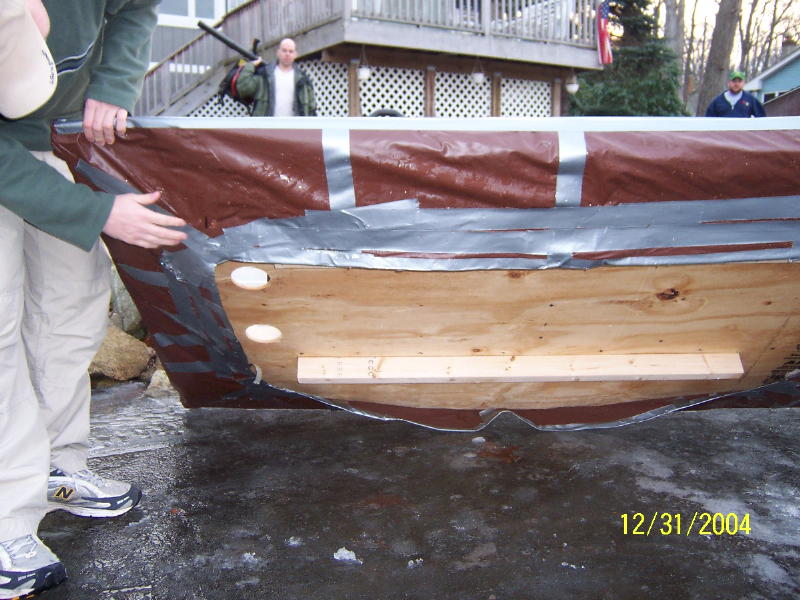
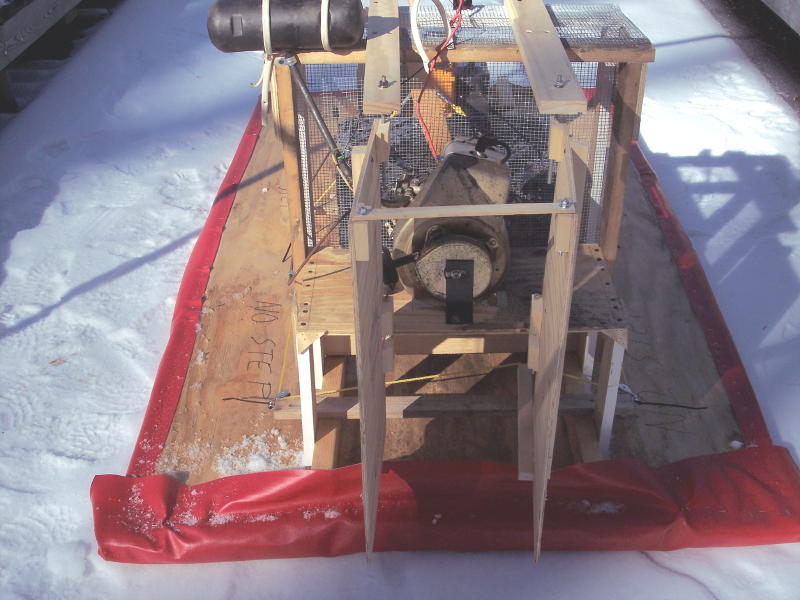
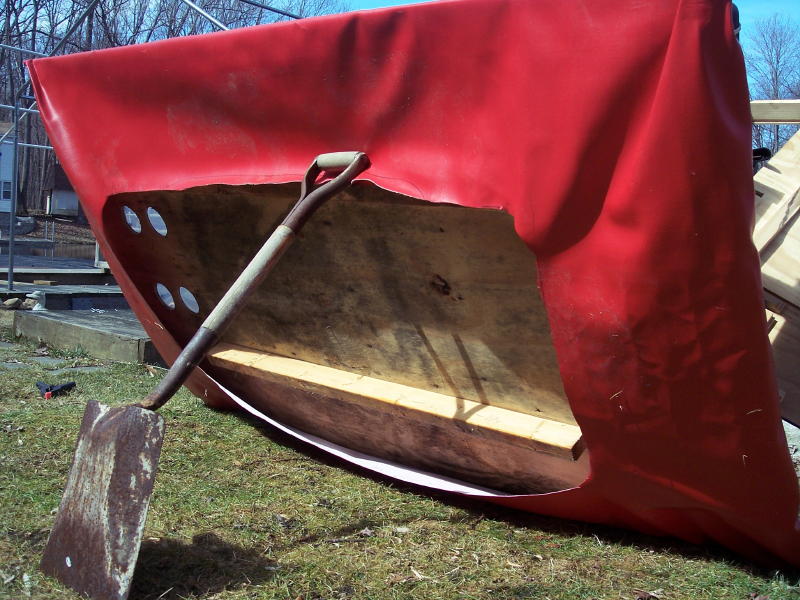
1-piece of 3/8 plywood. This was the thinnest I could get. If you can find something thinner or lighter use it.

Some 2x3's

Some Marine grade vinyl for the skirt. I got this at a local fabric store for under $20.00.

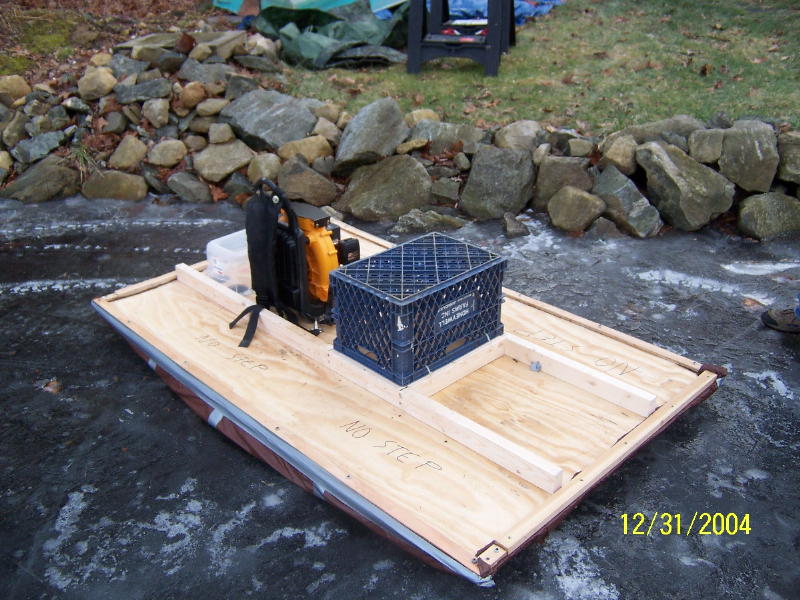
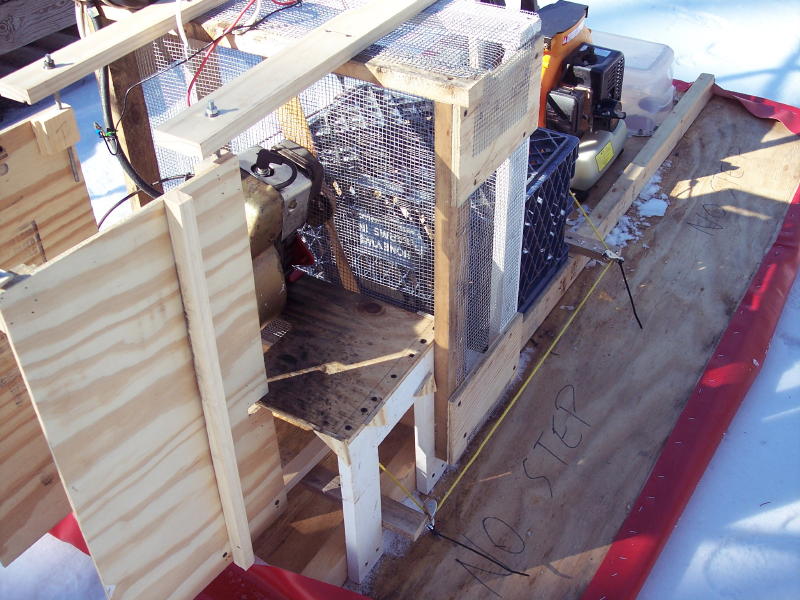
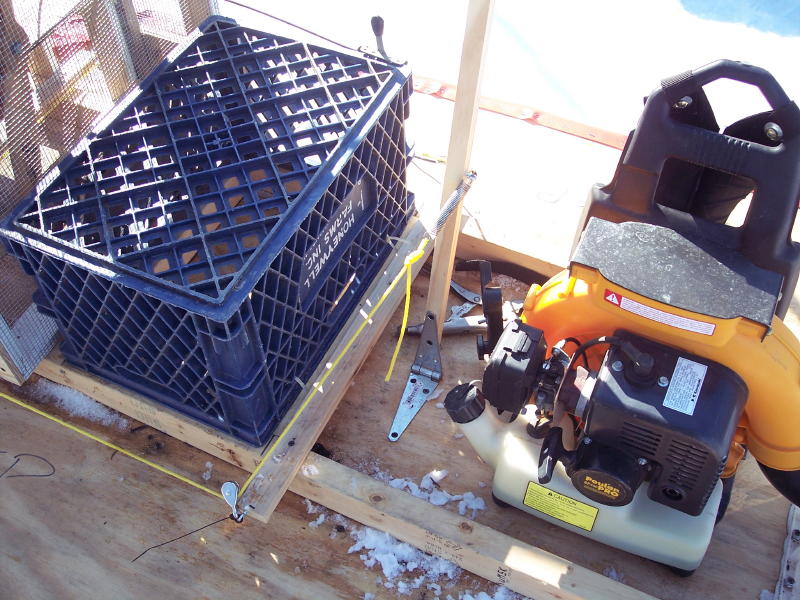
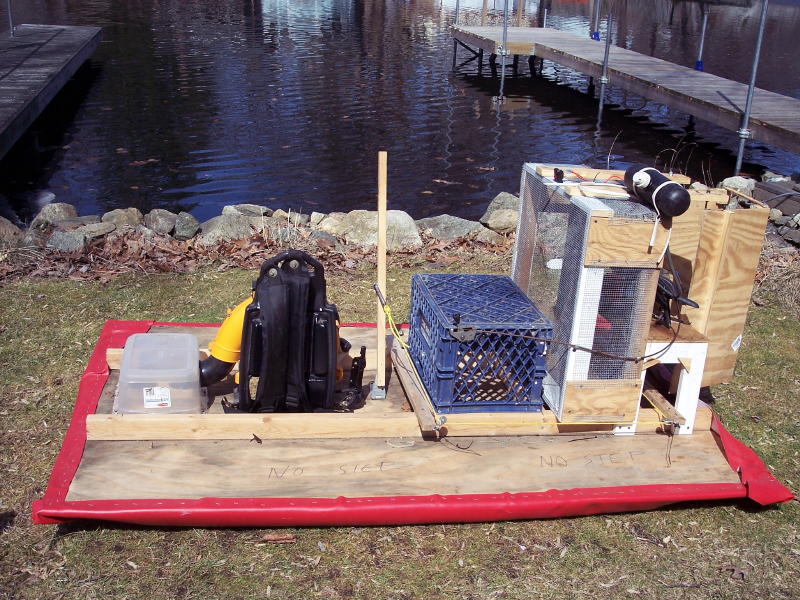
A seat. I used a milk crate.

Chicken wire. Home depot. 1/4" holes.

Two small engines:

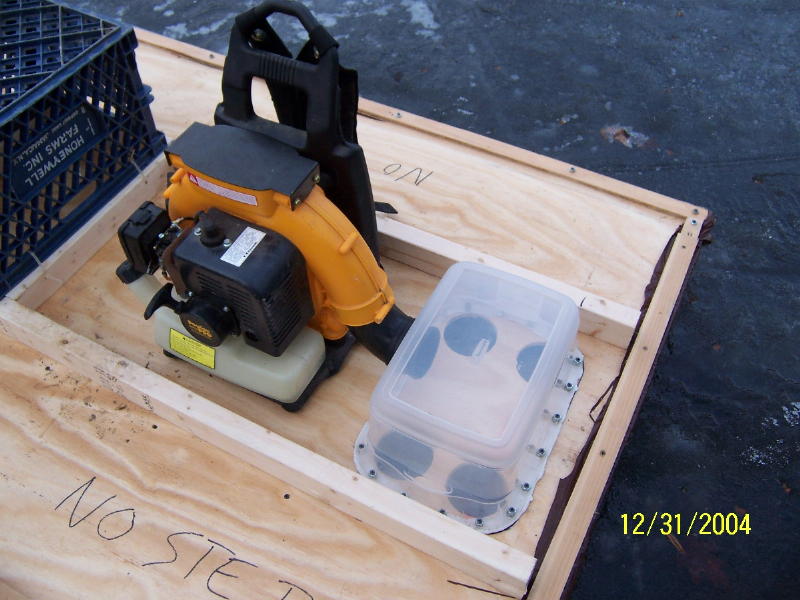
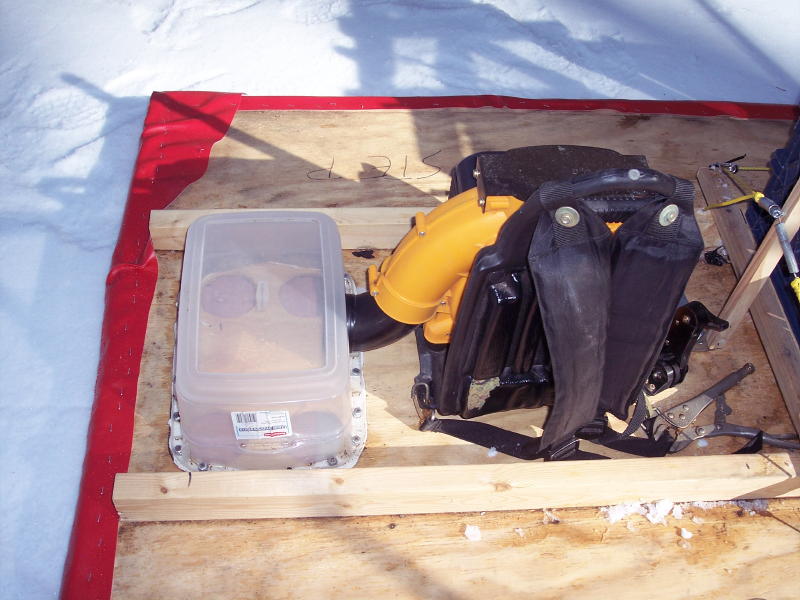
For the lift I used my backpack leaf blower. As is unmodified. I just took the tube off.

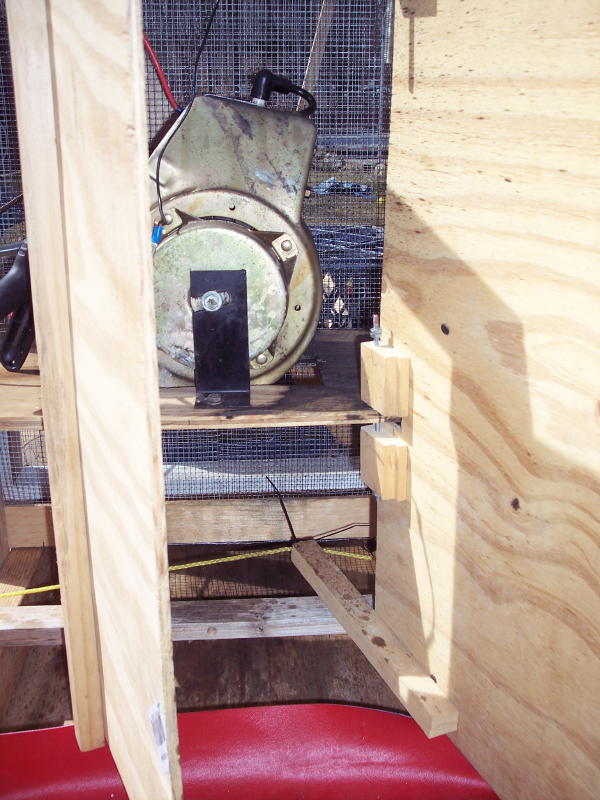
For propulsion I used a 2-cycle snowblower engine. I think it's about 2.5 H.P.

A model airplane prop. I got it off Ebay for $12.00 with shipping. It's 22" with 10 pitch. You will have to experiment with this. You want your engine to run at full RPM at full throttle. If the engine is running too fast you want a higher pitch or longer prop. If the RPM's are too low you need a lower pitch or shorter prop.

Some misc. hardware

You can click on any image to make it larger.

Frame

I cut the ply-wood to 6 1/2' x 4'. This turned out to be a little too short for me. This depends on the amount of space the engines and the seating area take up. You want the craft balanced from end to end. Mine is a little too heavy at the back. If it was a little longer I could move the seat a little foward to compensate. I cut two 2x3's the length of the ply-wood (6 1/2') and two about 20" for the cross pieces. This is for the top frame rails. I'm using a milk crate for the seat so these pieces are designed to support it. You can see in the picture the two cross pieces are directly under the crate for support. I was originally going to use an old aluminum ladder and just cut it down. This would probably be lighter than the wood. This frame was then attached to the top of the ply-wood. You can then mount anything you need to along this frame.

The skirt in some of the pictures is just a shower curtain that was reinforced with duct tape. I used this to experiment and it worked better than I expected.

This is the bottom. I just cut two 2x3's for the skids. They are directly under the top rails and short enough so the skirt can't go under them. The Hovercraft will land on these so you don't damaged the skirt when it's sitting on the ground.

I put four holes in the plywood for the lift air to get through. I used a plastic container upside down over the holes and fed the backpack leaf blower into this container. These holes can be anywhere. You can use wood to build a box or just PVC pipe to get the air from the leaf blower to under the hovercraft. I just used what I had around. I also didn't want to modify my leaf blower. It is just stuck into a hole in the container and screwed to the deck with two sheetrock screws so I can use my leaf blower if I need to. I've done a lot of reading and experimenting with building this hovercraft. In my opinion a cage blower type unit is the best for the lift. They move a lot of air at a low pressure. There are books I've found on Ebay that explain how to make them and the formulas for specific needs. The leaf blower I'm using has no problem liftiing a 200lb+ person 6" off the ground.

This is the Propulsion engine. I built a little table like stand for the engine. This is all mounted to the rails. I then built a cage around the prop. For safety reasons I would do this. I was originally going to just use a box fan for this. A new box fan is about $15.00. Just remove the motor and blade and mount it so it's around the prop. I broke the grills on mine before I finished it so I just built a frame and covered it with chicken wire. Using a box fan frame would be a lot lighter.

The engine is from a snowblower. I believe it about 2 1/2 H.P. It came with a shaft about 6" long with a pulley on the end. There was also a threaded hole in the end of the shaft. I bought a model airplane prop on Ebay and used a bolt to mount it to the end of the shaft. Make sure the prop is spinning in the right direction. I've tried several prop and motor combos and this one worked the best. For the throttle I used a throttle lever and cable from an old lawn mower. Connect it directly to the butterfly on the carb. Don't use the governor on the engine. To make sure the engine runs right, try to mount the gas tank in the same height relation to the engine as originally done. Some engines have a fuel pump, a pressure line to the tank or just use gravity to feed the gas. Changing this configuration too much could affect it. I also put the engine shut off switch where it could be easily reached.

Rudders

The hovercraft rudders aren't too difficult to do. I just used some thin plywood, thin threaded rod, thin rope and some small pulleys. I attached some small blocks to the plywood and drilled holes through it for the threaded rod. Then the threaded rod goes through holes in the engine stand. There is also a connecting rod accross the top rear of the rudders to keep them together. There is an arm sticking out the front of the bottom of one rudder to connect to the control rope. It has a little eye hook on the end and I tied the control rope around it.

The control rope then goes through the pulleys to the control stick. The control stick is attached to the deck with a basic hinge. You can connect the control rope right to the stick, but I would recommend putting springs on the end of the control rope and attach them to the stick. This will provide a little play and prevent damage if something gets jammed. The length that the arm sticks off the rudder and the distance you connect the control rope to the control stick away from the pivot point will affect the response of the rudders. You can easily experiment with this. You want the rudder to move to full deflection in both directions while the control stick moves side to side in reasonable distance..

I think it would be easier to mount the rudders using hinges than the threaded rod route I used. I just didn't have them and had the other stuff on hand.

Bag Skirt

The Hovercraft skirt I used on this craft is just a simple bag skirt. This is by far the easiest to make but it does have disadvantages. It will only go on a smooth surface. I live on a lake and use this on the ice during the winter and I've used it on pavement just fine. This type of skirt will even have trouble on grass.

To make it I layed it out under the craft flat. I traced out the outside of the hovercraft with a marker. Then I measured out from this mark an equal amount all the way around and marked it. You can experiment with the measurement. You can always make it smaller but if it's cut your stuck at this size. I think I measured out about 3" all around from the original mark. Then the outside mark on the skirt is the mark I used to attach the skirt to the hovercraft. Some pictures show that I attached the skirt by screwing small wood strips around the top of the hovercraft. The other pictures I just stapled the skirt to the hovercraft deck. These have lasted a lot longer than I thought they would.

After the skirt is attached to the hovercraft I marked out an oval on the bottom of the skirt in the center. I cut it out and then tested it. Start up the lift engine and see how it looks. I cut my oval several times at 1" intervals till it looked good. If the hole is too small be ready to shut the lift engine fast. It will blow out the skirt or buldge the pylwood to the point of cracking. After experimenting with the hole I managed to get it to the point that the hovercraft would just barely hover when the leaf blower was at idle and raise up completely without buldging the plywood at full throttle. Whenever you've got a good size and shaped hole you want to make sure the Landing skids will be clear of the skirt.

FOR SALE

Scat Hovercraft 12' Three seater.

Rebuilt Rotax 503 dual carb.Electric Start.

All new throttle cables.

New stator, flywheel, CDI, External coil, Wires.

All wiring redone. All new switches.

Hull was painted and there are chips and some minor scratches.

Bags are in great shape.

I would like to sell quick and get back to the Hoverstar Project.

Contact me at:

Videos

Hoverstar Hovercraft
Homebuilt Hovercraft
US Patent
Home page