The plan is to take a 1987 Hovertechnics Hoverstar Hull and install a 1.0 liter Geo Metro G10 engine for thrust. Then block off the lift duct and install a separate engine for lift in the nose.
Dec 2010
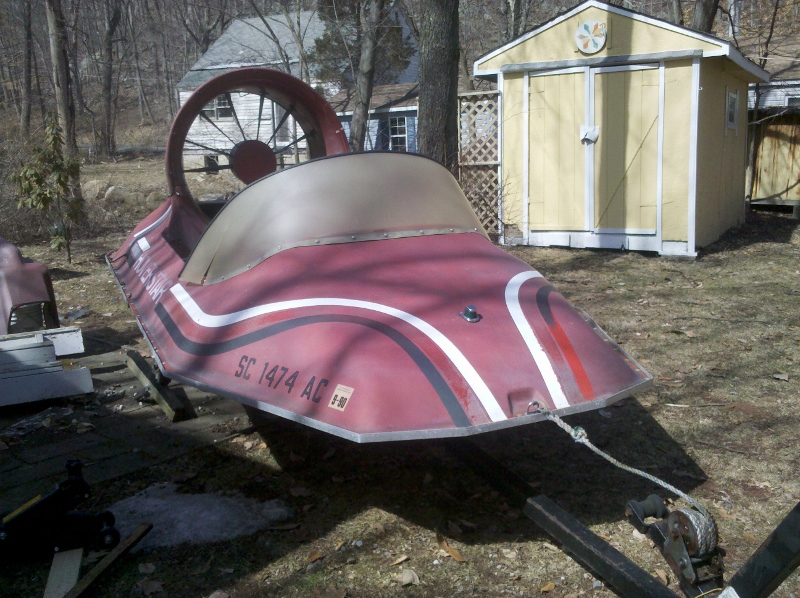
The Hull
I bought an 12' 87 Hovertechnics Hovestar hull. The hull is in decent shape but there is nothing but hull. It needs everything.
Mar 2011
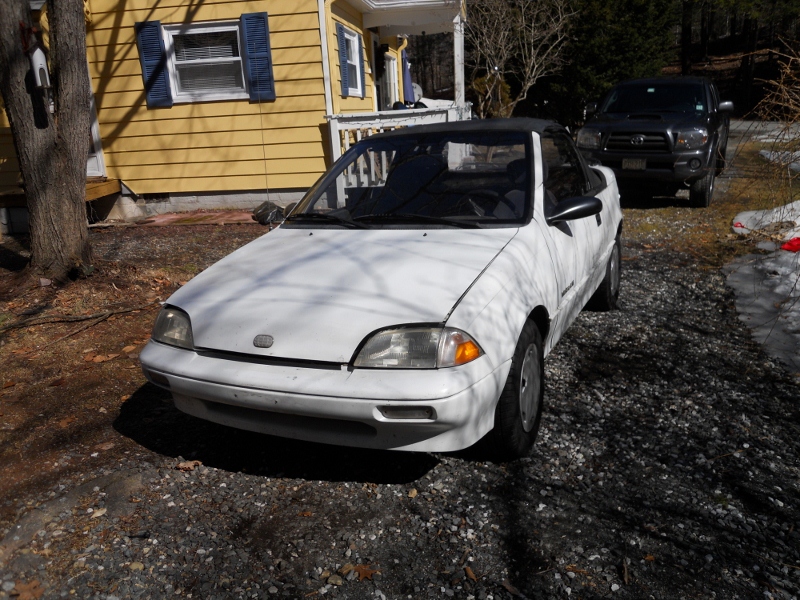
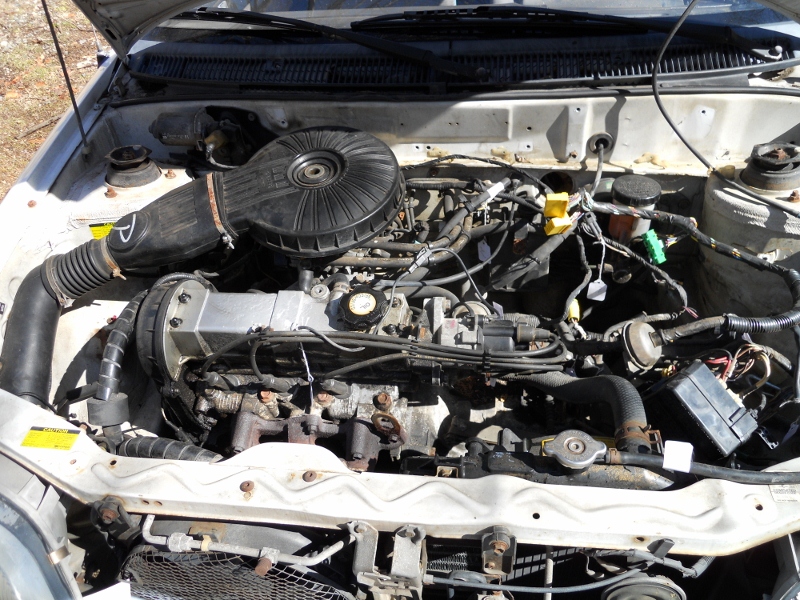
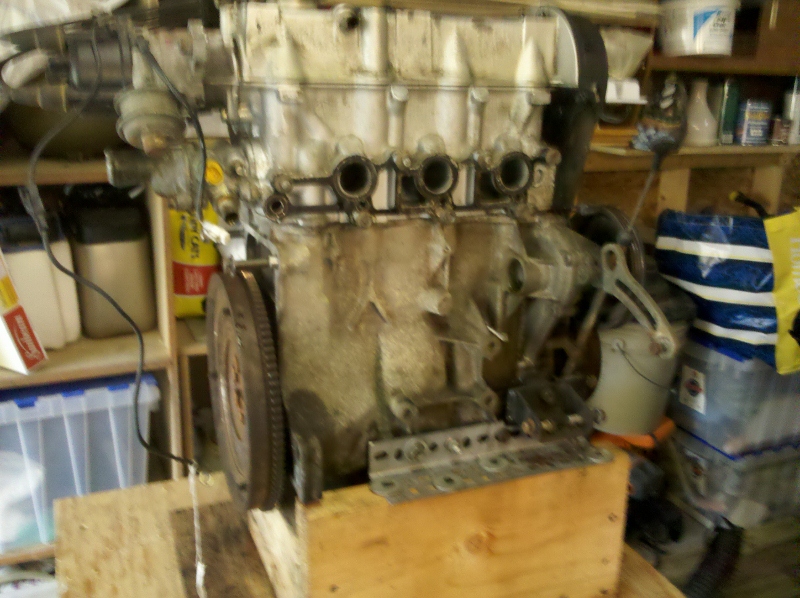
I bought a 91 Geo Metro for the Suzuki G10 engine. The engine seems to run good. Its a 1.0 liter 3 cyl with throttle body fuel injection.All aluminum block so its pretty light. About 55-60 H.P.Now to remove the car.
Mar 2011
Removed Engine
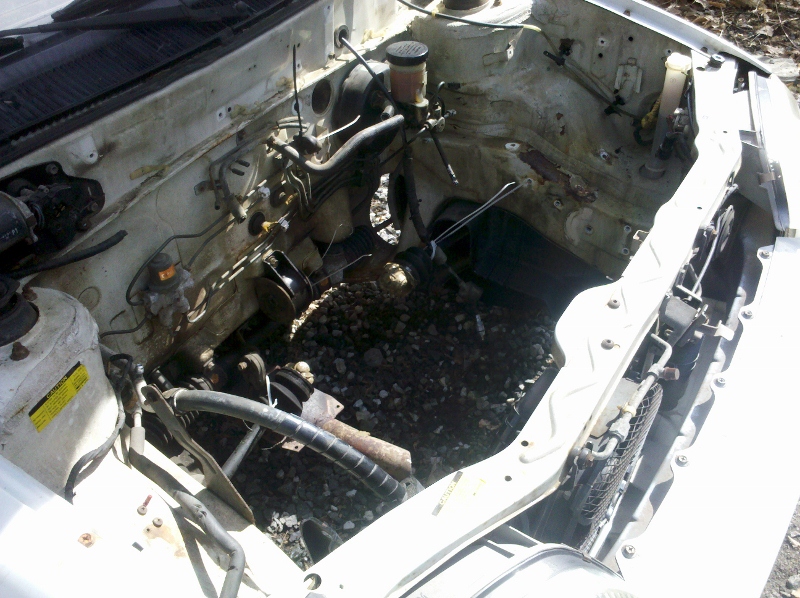
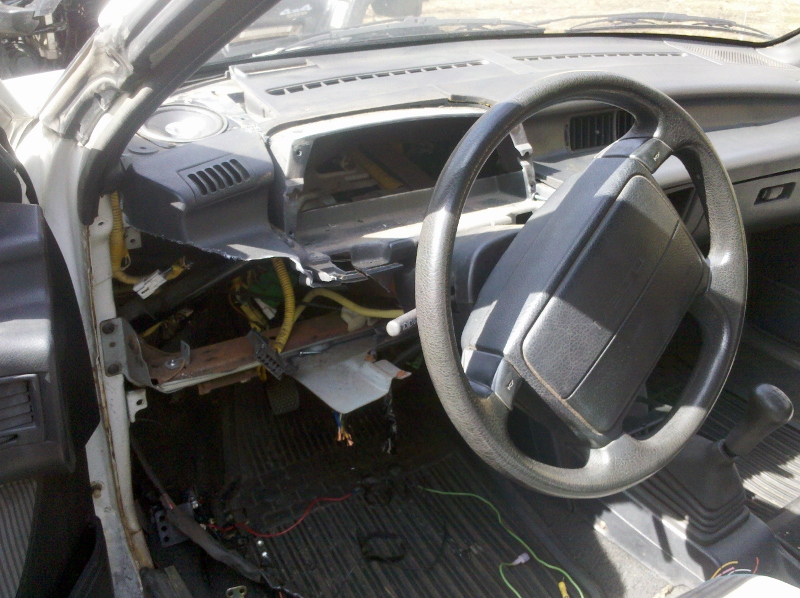
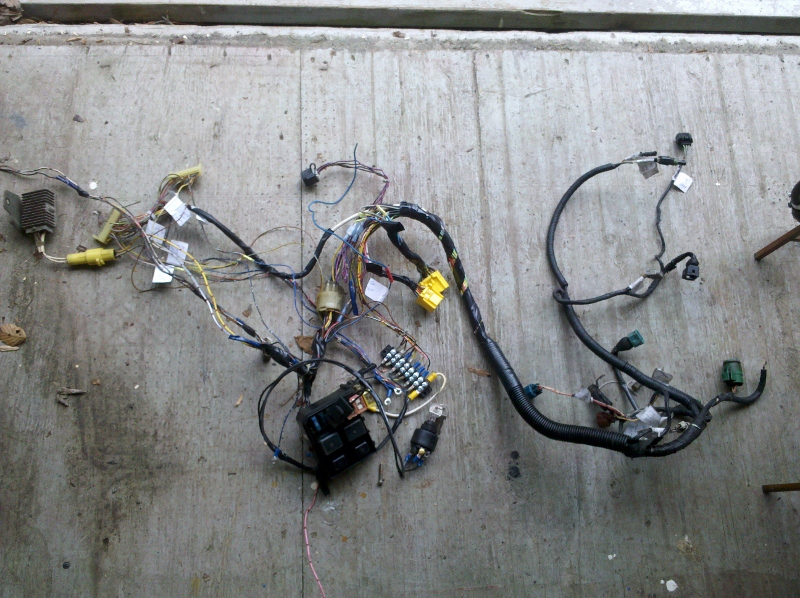
I removed the engine, fuse box, ECU, wiring harness, radiator, instrument cluster and all sensors.
Sept 2011
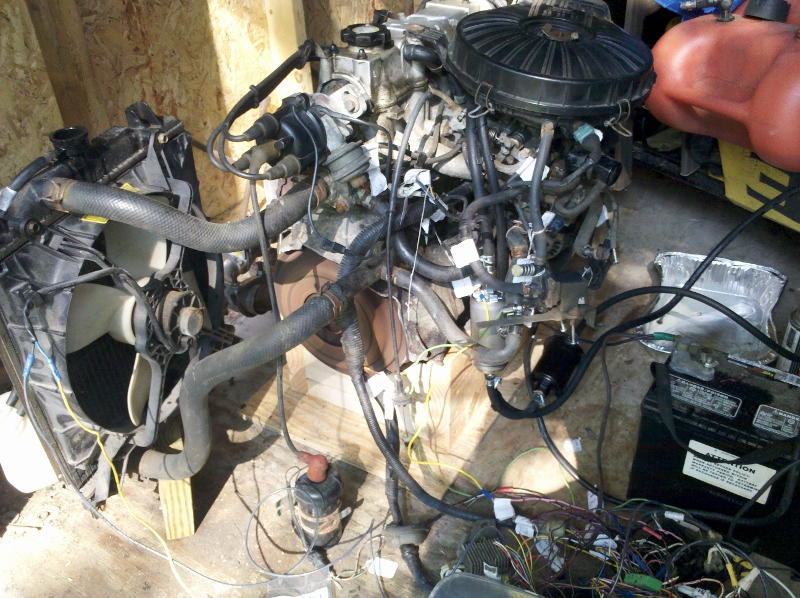
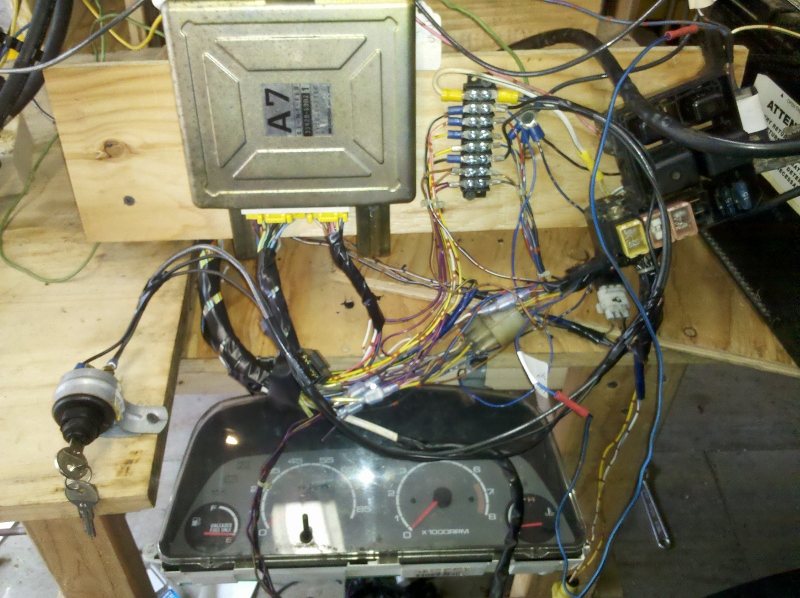
The engine is out. I wired it all up to check it. I hooked up the instrument cluster for tach, check engine, water temp, Oil pressure and Battery. The radiator was hooked up and engine runs good.
Oct 2011
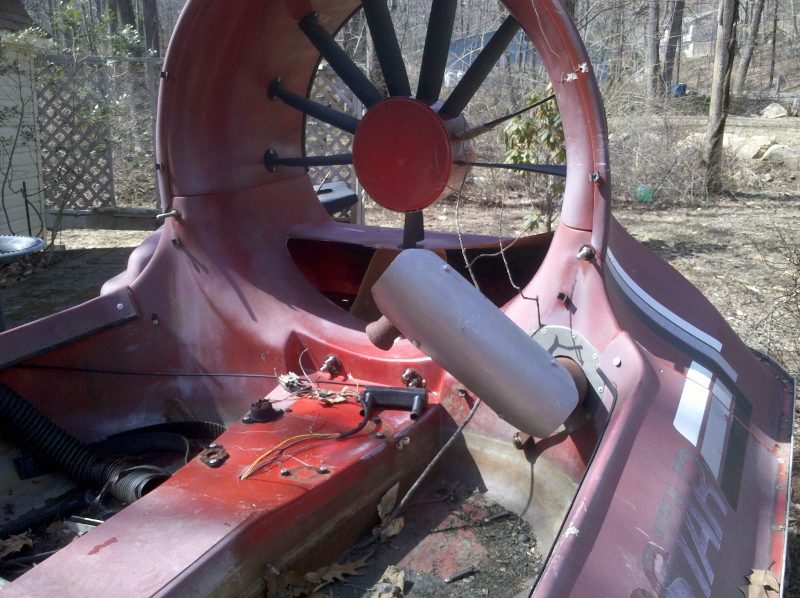
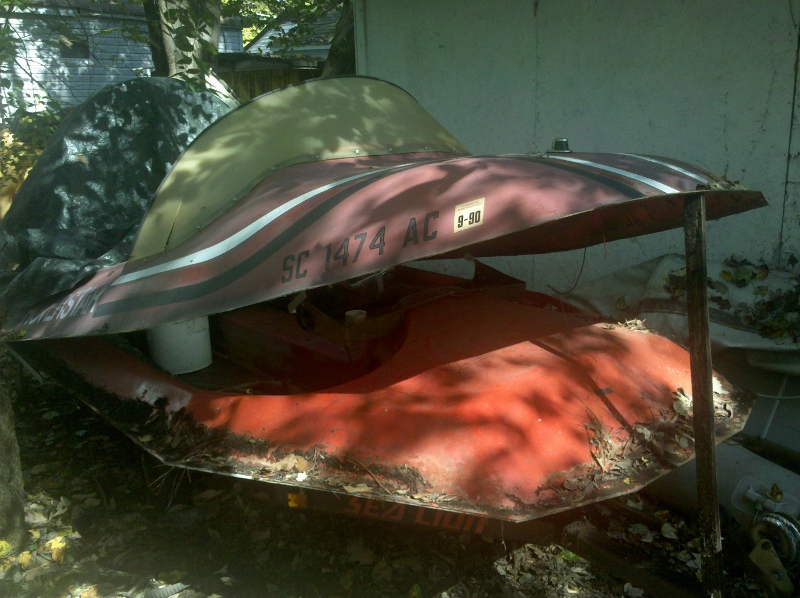
Started working on the hull again. All rivets were drill out in preparation for separating the hull. After removing the front I was shocked to find an inner hull that is fiberglassed together. After talking to Hovertechnics, its still possible to separate the hull but its not going to be easy.
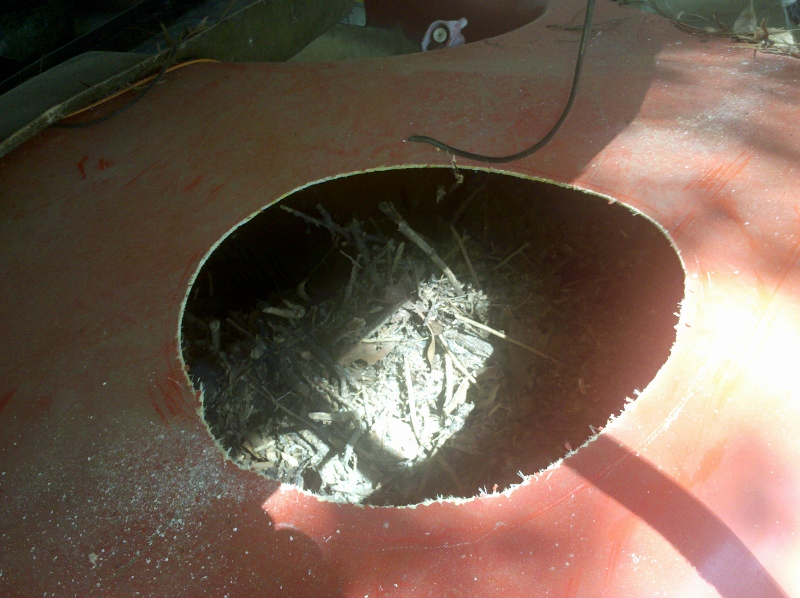
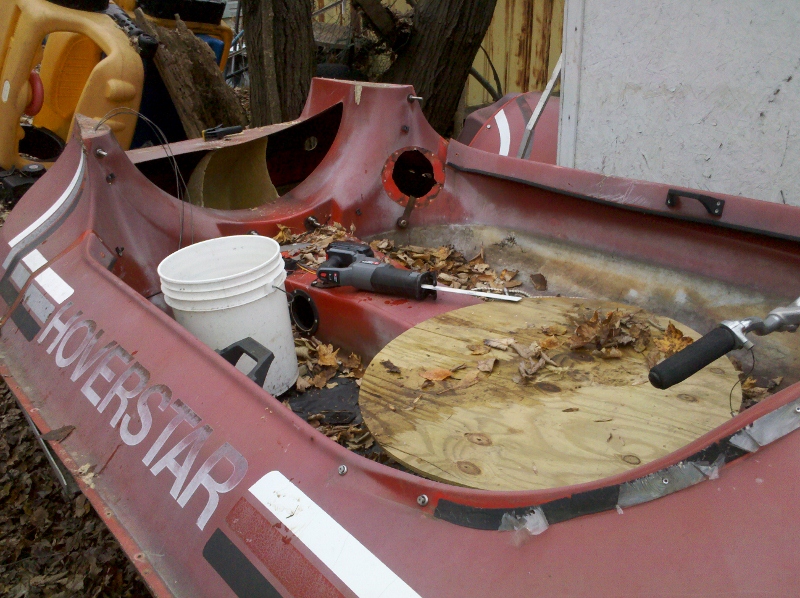
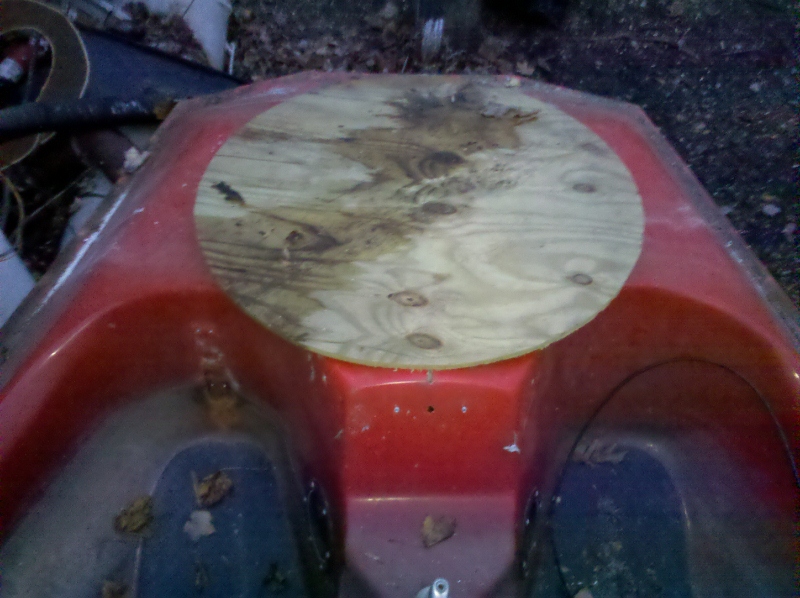
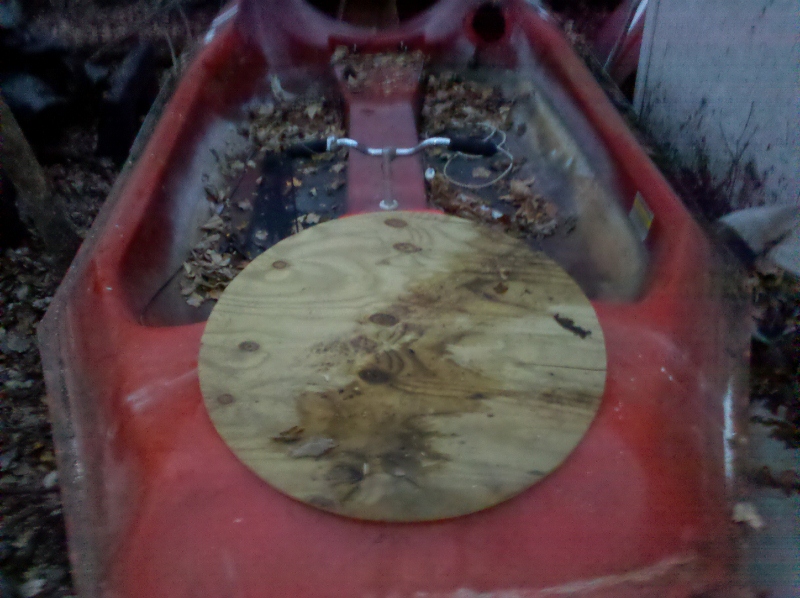
I've given up on splitting the hull. I cut a hole in the top of the inner hull. There were enough sticks and leaves to build a beaver dam. I cleared it all out and cut a 30" round template to see where to put the lift duct.
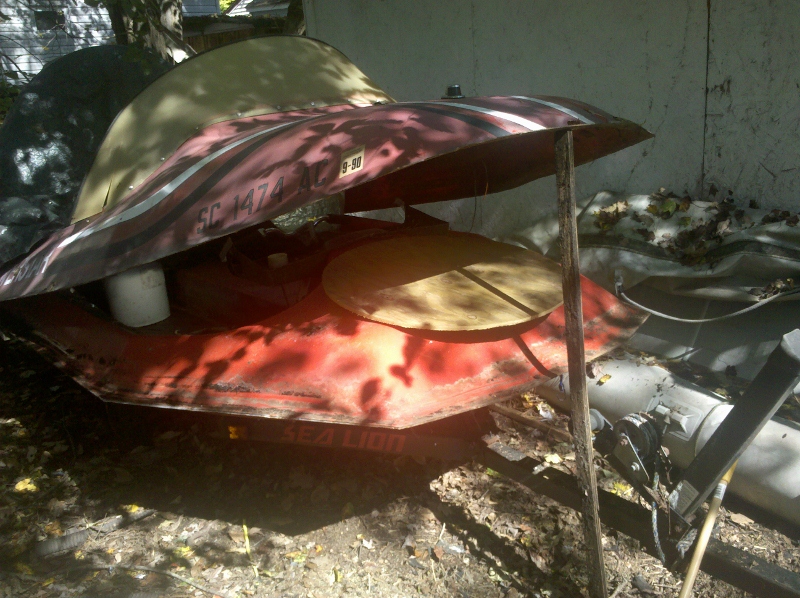
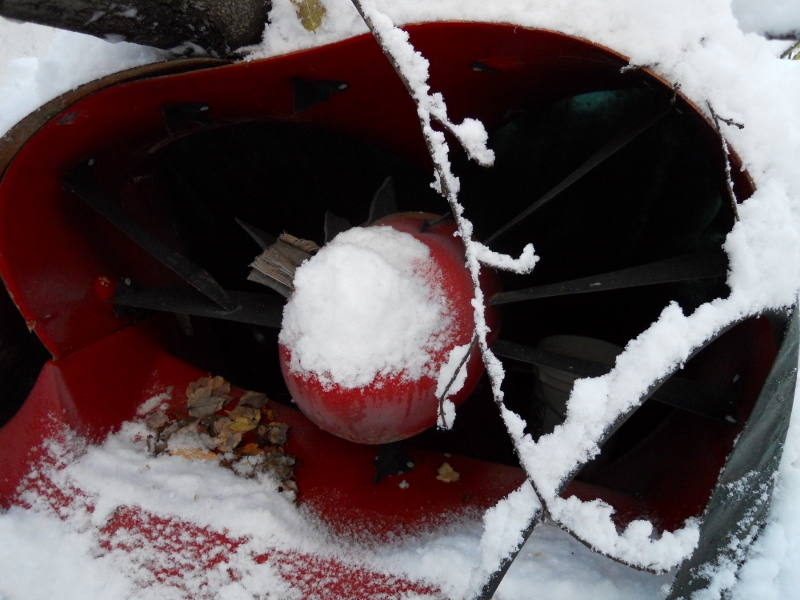
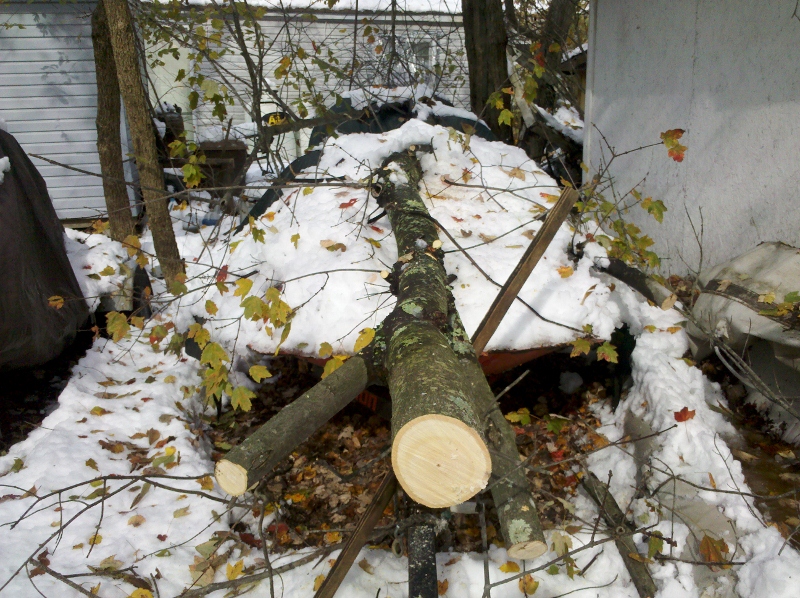
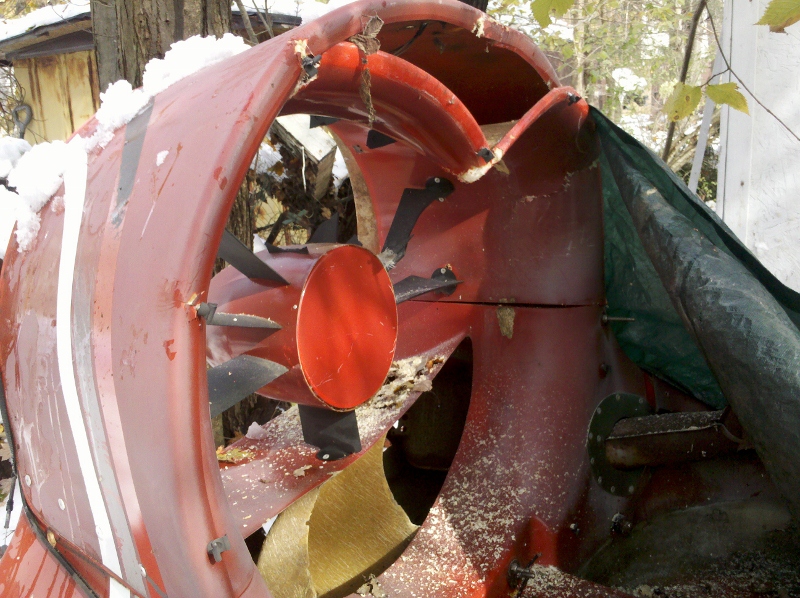
We had a crazy October Snow Storm on the 29th and the Hovercraft was crushed by a tree. I was standing right where the middle picture was taken when I heard the cracking. I turned to run and only made it one step before I was knocked to the ground. Luckily I was wearing a helmet and padded snowmobile jacket. The hovercraft wasn't as lucky.
Back to the drawing board.
If anyone has a Hoverstar or Air Commander hull they want to sell cheap, please contact me.
November 2011
I removed all the damaged parts. I'm thinking if I can get a pre-molded thrust duct, I might be back in business.
The plywood disk is 30" in diameter and shows were the lift duct will be.
December 2011
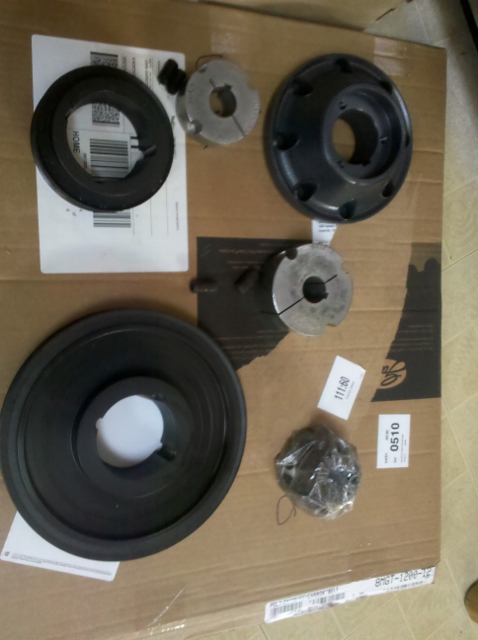
Parts for drive system have been ordered.
The wiring was redone a lot neater. All splices were soldered.
Then the engine was run again to check it. The engine was then disassembled to make it lighter and easier to work with while the drive system and engine mounts are constructed.
Fiberglass was also ordered to construct the thrust duct. I built a hot-wire from plans found on the internet to shape the styrofoam.
Jan 2012
I ordered and recieved parts for the drive system.
April 2012
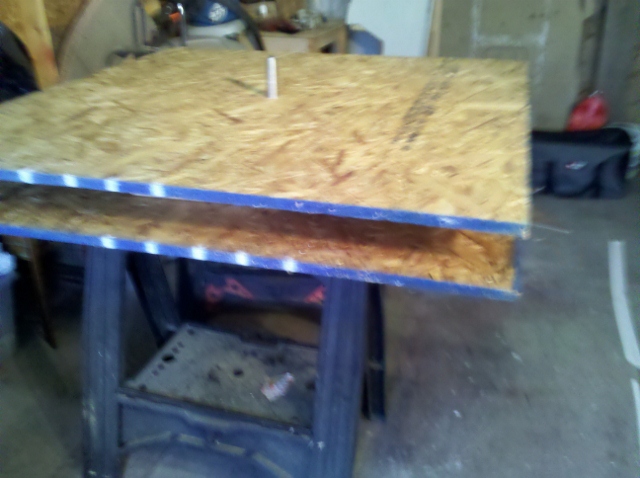
Began construction of the Thrust Duct.
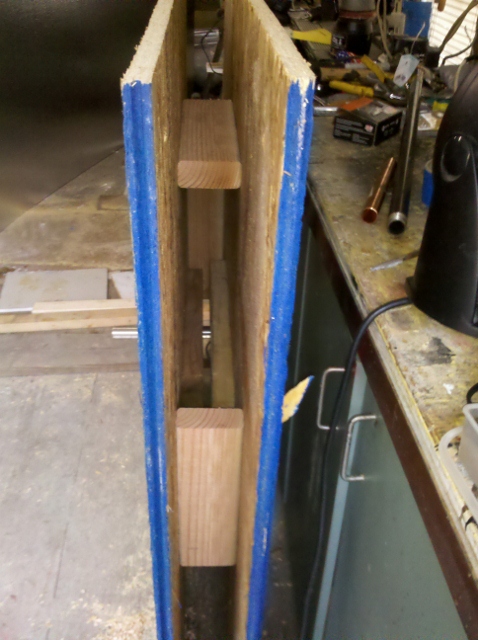
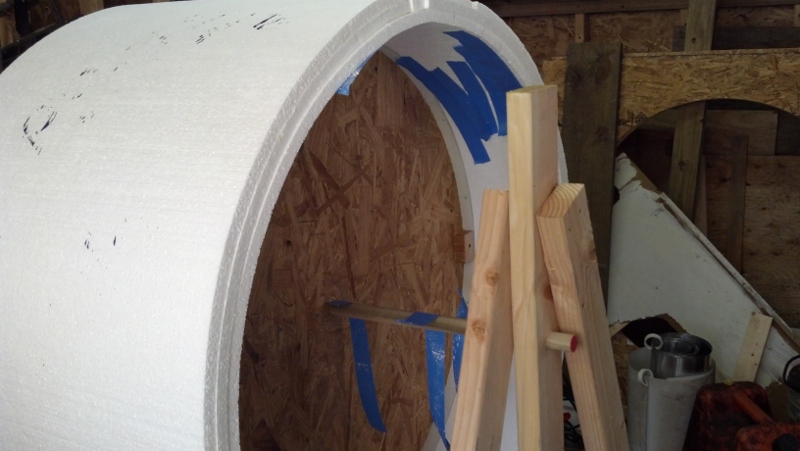
I took two pieces of 4'by 4' waffer board with pieces of 2x4 on edge to space them apart. The 1" drive shaft was put through a 1" hole in the center.
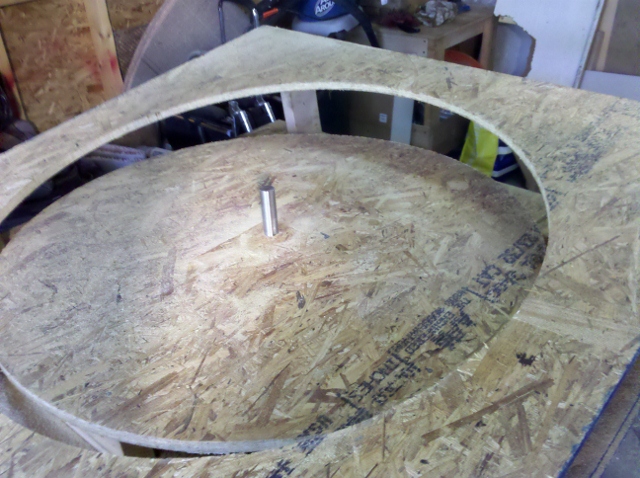
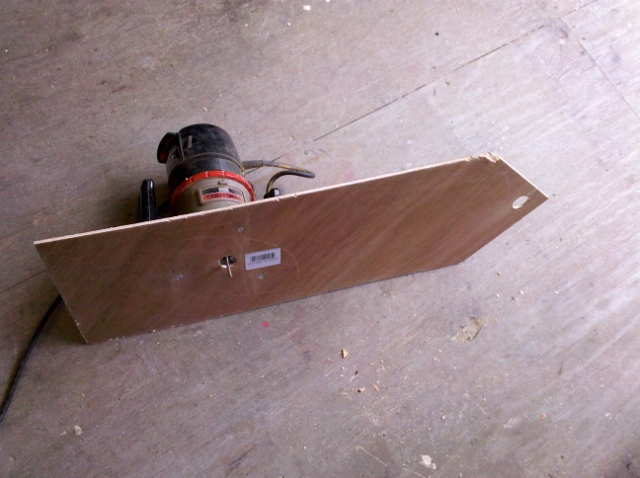
I mounted a router on a piece of 1/4" plywood so that the center of a 1" hole was 18" to the edge of the cutter bit.
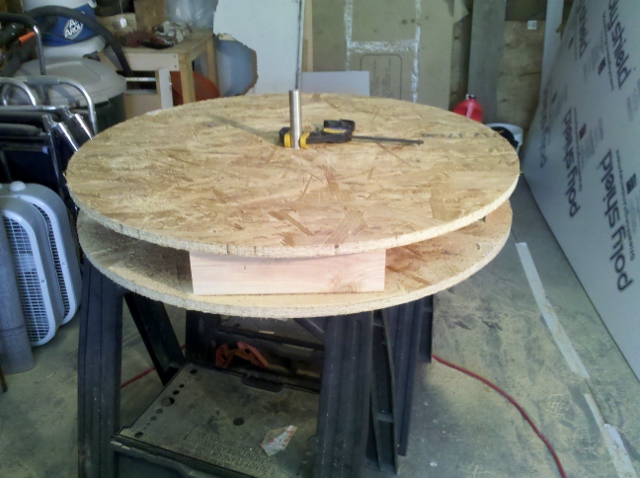
Then the disks were routed out to the finished diameter is 36"
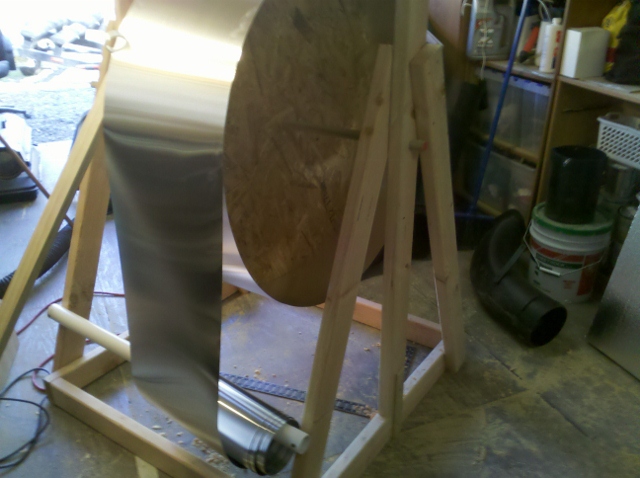
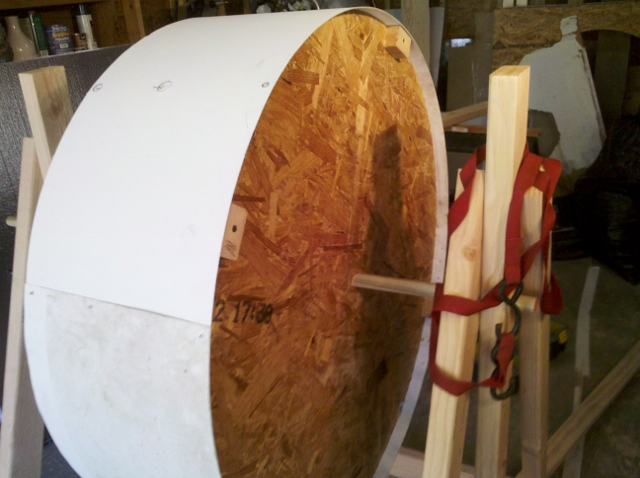
I built a stand to hold the disk so it can spin. I originally wrapped 14"x 50' aluminum coil around the disks but this coil was too thin a gauge to get right.
I just wrapped a piece of EPS arount the form just to see it bend. I was expecting it to crack but it didn't.
Next I have to re-make my hot wire cutter to cut 2' wide strips of the foam to wrap around the form. Then I'll wrap and build up the foam untill it will be thick enough to match the original duct shape.
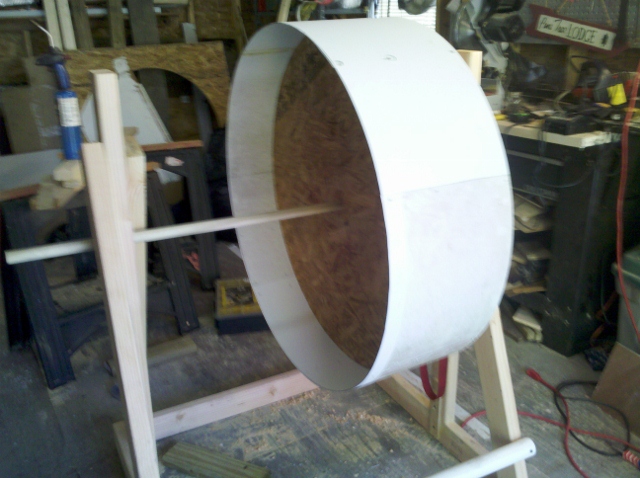
I then tried a heavier gauge aluminum which worked out a lot better. After working with the heavier aluminum, I could probably use the lighter gauge without a problem. It was just using it for the first time gave me an issue.
There are three layers of aluminum and they were riveted all the way around.It is pretty stiff after rivets.
May 2012
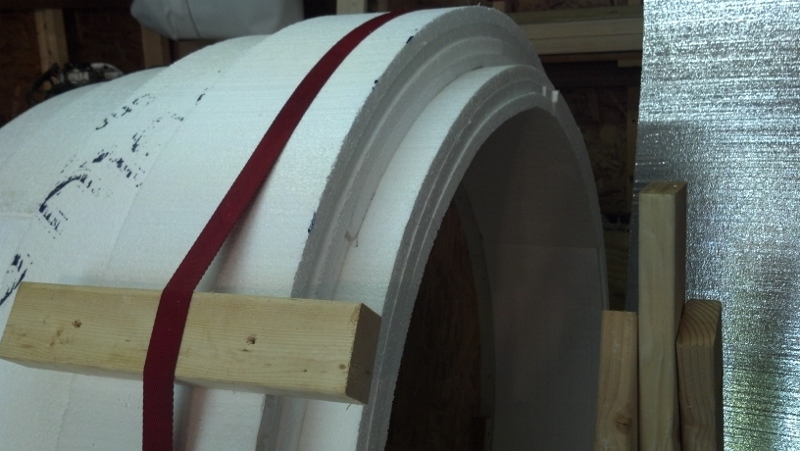
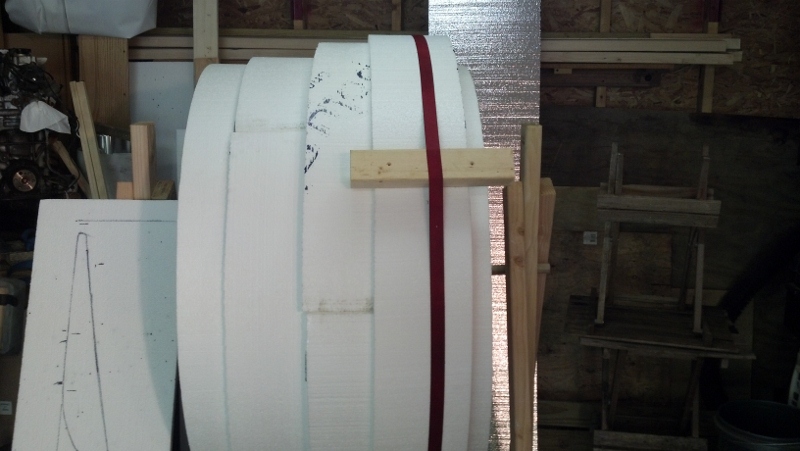
Three layers of foam and counting.
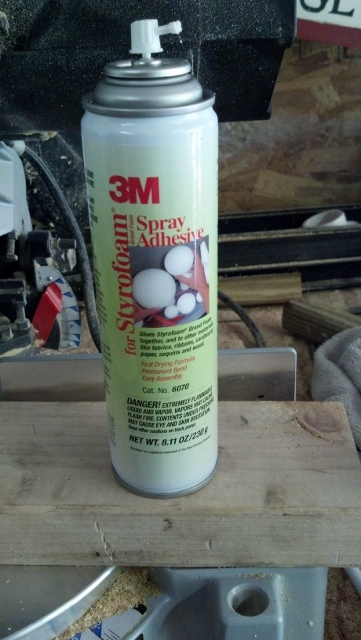
I used the 3m adhesive made for EPS. I found this worked the best with the hot wire.
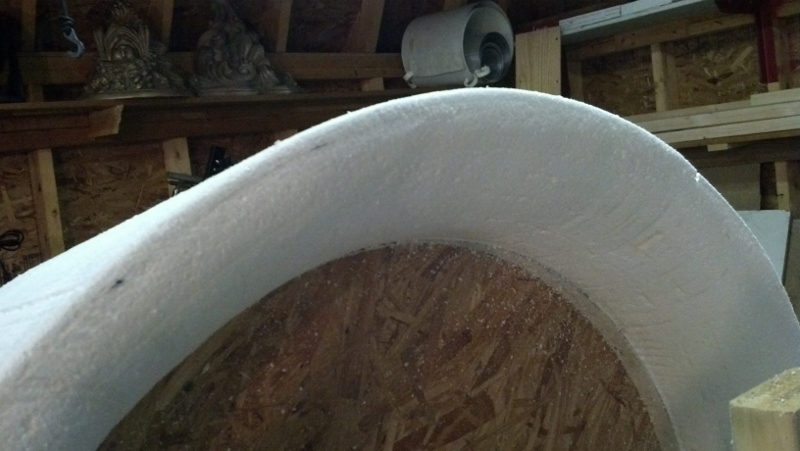
I continued to build up the EPS foam till it is thick enough to carve out the proper shape. The shape I'm going for is drawn on the piece of EPS to the left in the picture.
This is the shape of the original duct and I'm hoping it will fit the hull nicely.
I used the Hot Wire to cut the back of the duct as a test. Worked great.I'll start shaping the duct next.
September2012
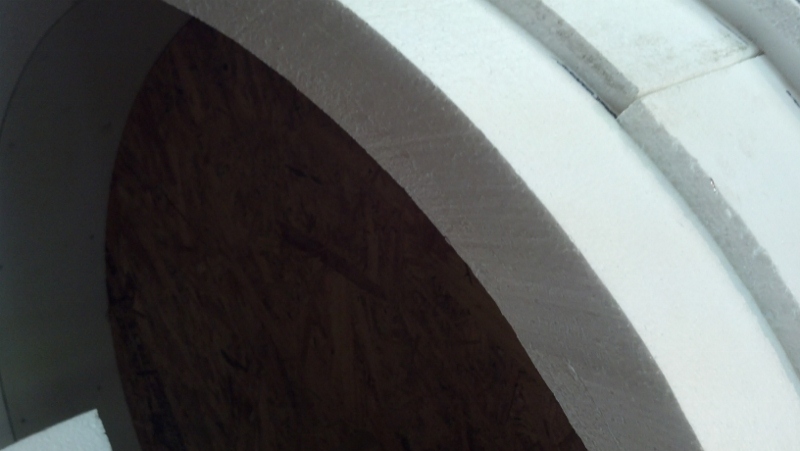
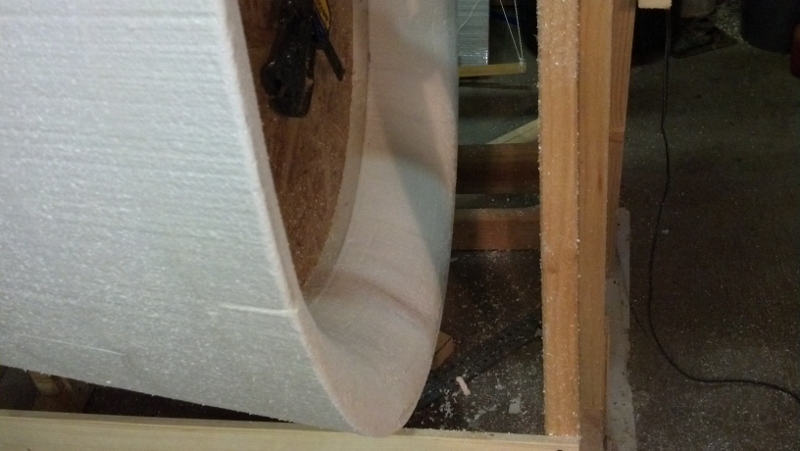
The duct was shaped with a hot wire.
The outside was shaped with a guitar string hot wire and the inside curve was shaped with a piece of thicker nichrome wire that was bend into shape.
The curve for the intake was copied from the original Hoverstar duct.
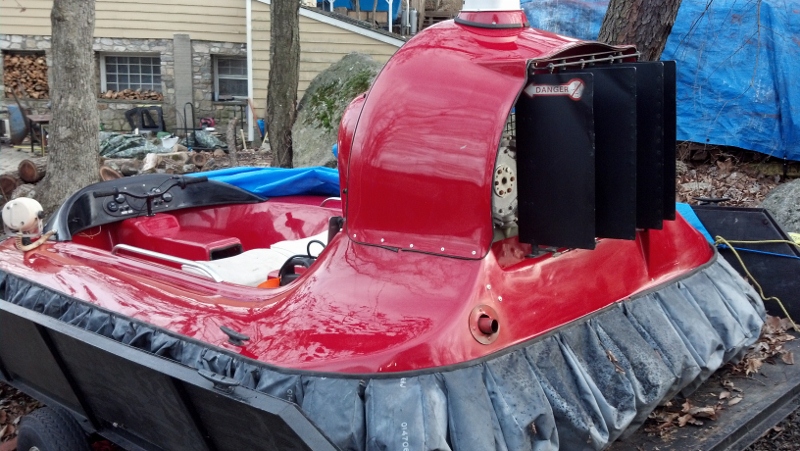
FOR SALE
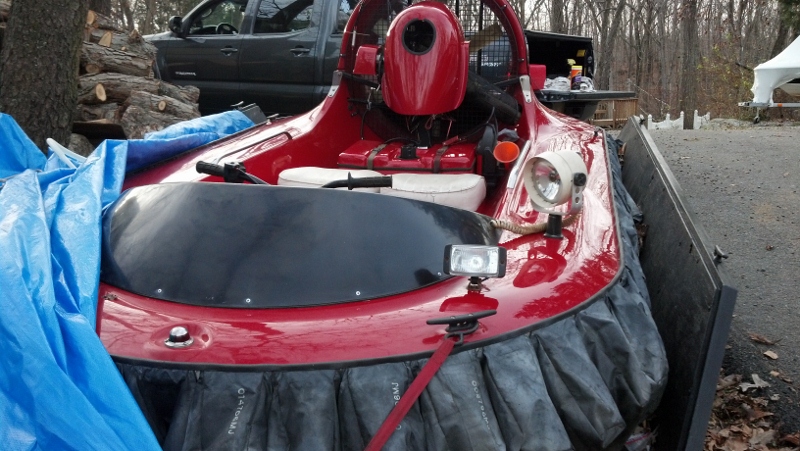
Scat Hovercraft 12' Three seater.
Rebuilt Rotax 503 dual carb.Electric Start.
All new throttle cables.
New stator, flywheel, CDI, External coil, Wires.
All wiring redone. All new switches.
Hull was painted and there are chips and some minor scratches.
Bags are in great shape.
I would like to sell quick and get back to the Hoverstar Project.